
Now that your advertisement ran, the media supplier will send you invoices.
No matter who receives invoices, it is important that they are processed within a centralized workflow to ensure proper approval and payment.
Here are the activities to perform when a marketing team member receives an invoice from a media supplier:
1. Find the invoice
In the best case scenario, the invoice is for a media insertion that was planned, thus an expected invoice should already exist in your account.
Here are the steps to find and existing invoice:
- STEP 1: Go to the Accounting module.
- STEP 2: Use the Search & Filters to find the invoice using the information found on the invoice.
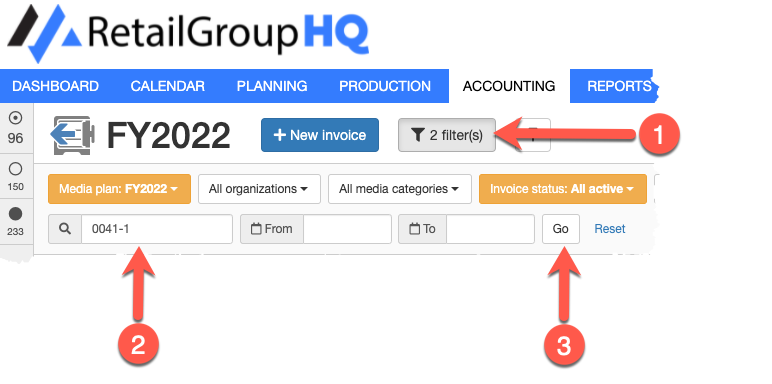
Typically, the media supplier includes your IO # on the invoice. If not, we recommend that you require it on invoices to facilitate traceability.
Not finding any existing invoices?
No worries ! It happens.
Sometimes, you may receive unexpected invoices from your media supplier.
This may happen when your media supplier wants to correct a previous invoicing issue, or when you forgot to planned a given advertisement.
In any case, you can add unexpected invoices to your media plan:
Unexpected invoice of an existing media insertion
This means you've already received expected invoices for the existing media insertion.
Follow these steps to create the invoice:
- STEP 2a: Use the Search & Filters to find a previous invoice
- STEP 2b: Click the Copy button on the existing invoice.
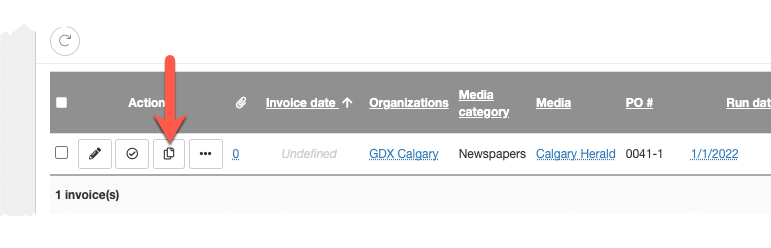
This will display the Create invoice form for a new invoice linked to the media insertion.
Notice that some of the information in the new invoice is pre-filled with the information from the media insertion.
Unexpected invoice of an unexpected media insertion
This means there is no existing media insertion for the invoice.
Follow these steps to create the invoice:
- STEP 2a: Click the New button
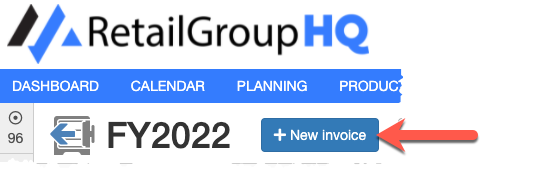
This will display the Create invoice form for a new invoice. When you save the invoice, the system will create an unplanned media insertion.
- STEP 2a: Use the Search & Filters to find a previous invoice
- STEP 3: Click the Update button of the appropriate expected invoice.
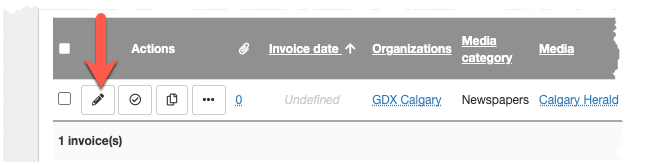
This will display the Update invoice form.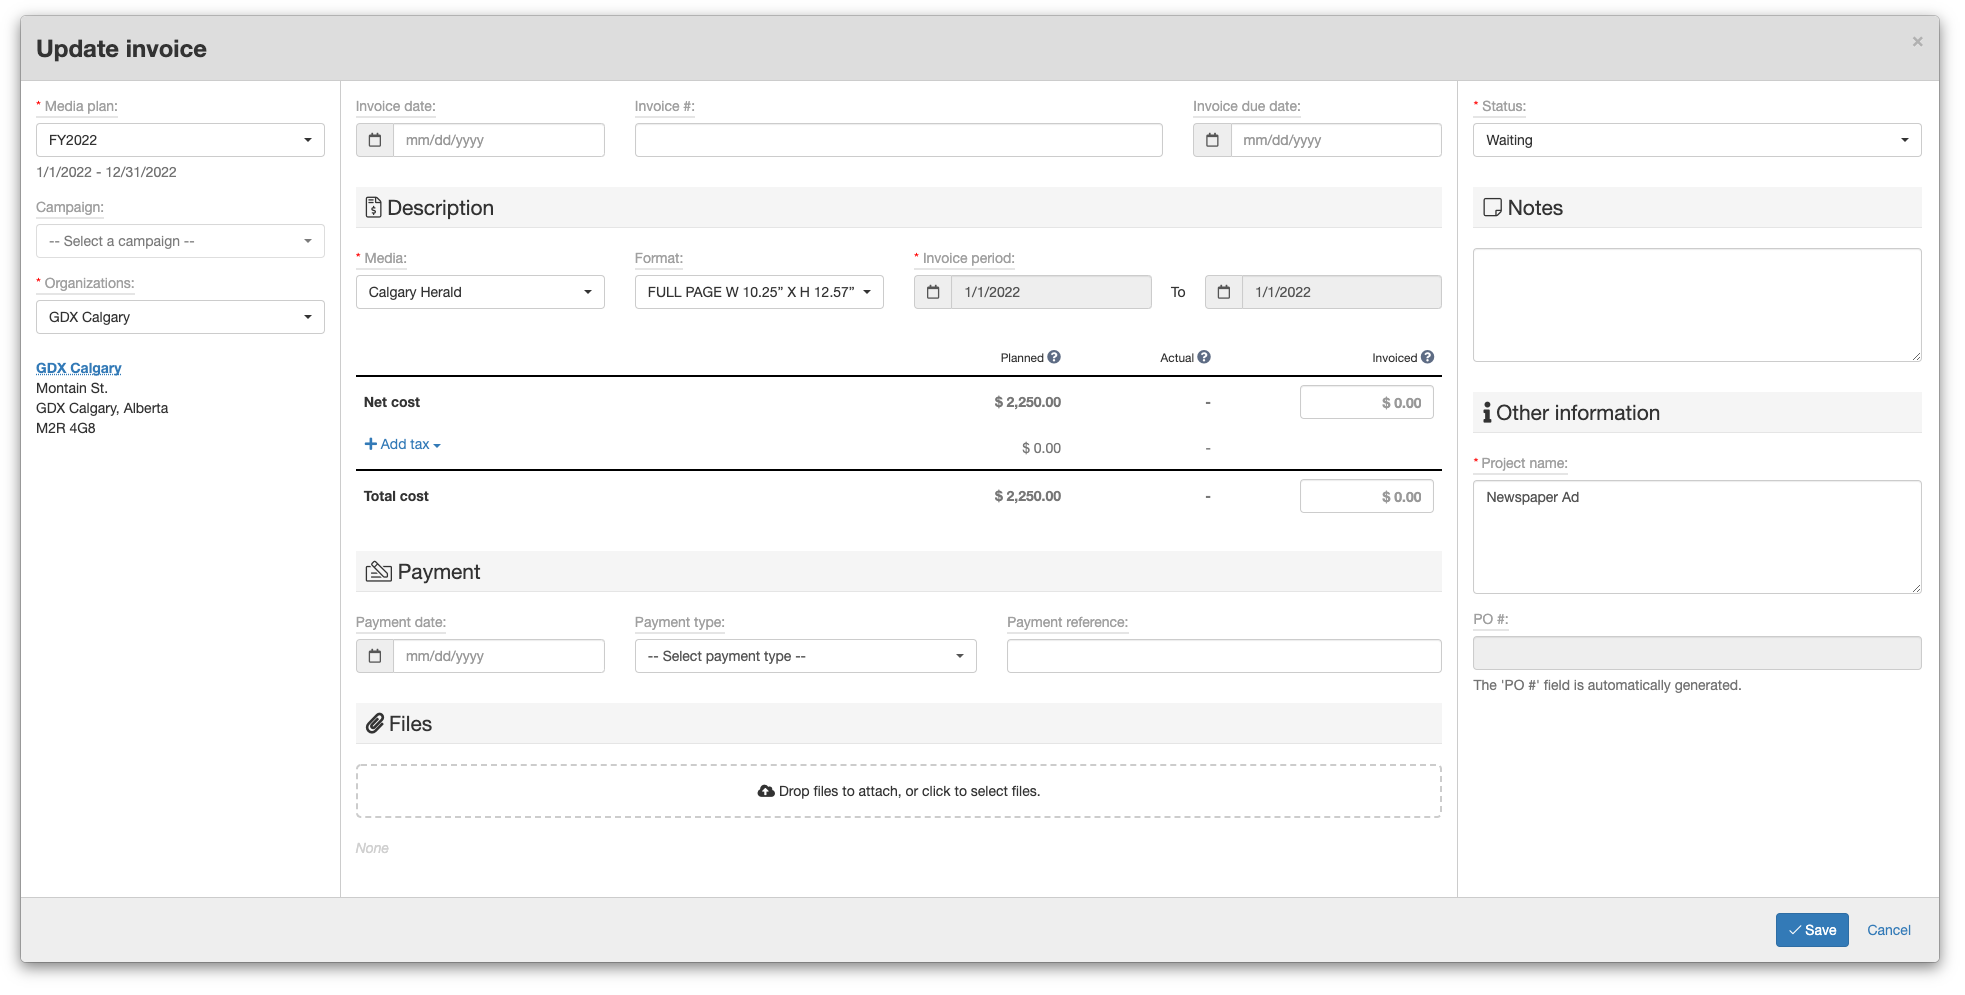
Note that it's possible that you have multiple invoices that match an IO #. This can happen when your insertion order consolidates multiple media insertions, or when a media insertion has multiple expected invoices (For example, an annual booking invoiced monthly).
2. Upload invoice file
We recommend to upload a copy of the invoice file in the invoice in order to facilitate the approval/payment workflows and to keep full traceability with your media insertion orders.
If you receive paper invoices, it might be a good practice to scan them in order to have a digital copy.
Continue with these steps to upload the invoice file:
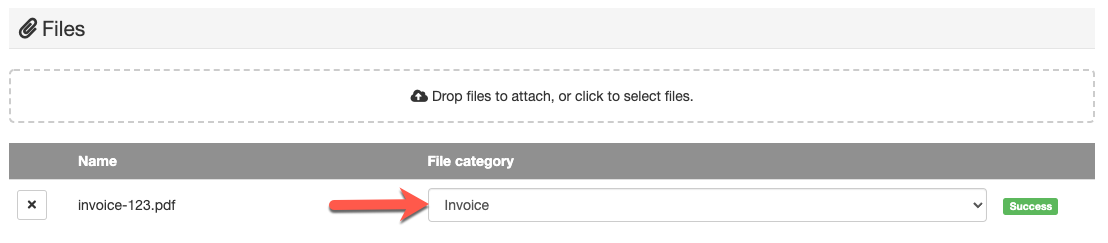
- STEP 4: Click the Upload file drop section in the Files section of the Create invoice form or Update invoice form.

Note that the Files section is located at the bottom of the form.
This will add a new file in the form.
You may also drag&drop your file on the form to add the file in the form. - STEP 5: Select Invoice as the file category.
3. Fill the invoice information
Fill in the information about the invoice in order to optimize certain optimizations such as monitoring for late payment based on due date, and planned -vs- invoiced cost comparison among others.
Continue with these steps to fill the invoice information:
- STEP 6: Fill the invoice date, invoice #, and invoice due date in the Invoice details section.

- STEP 7: Fill the invoiced cost in the Invoice description section.

4. Transition the invoice
Finally, when the invoice information is completed, transition the status to the next step in your workflow.
Continue with these steps to transition the invoice:
- STEP 8: Select the invoice status the Invoice workflow section.

By default, this is the Ready for approval step which will notify the approver that there's a new invoice to be approved.
NEXT STEP: Approving an invoice
Comments
0 comments
Article is closed for comments.